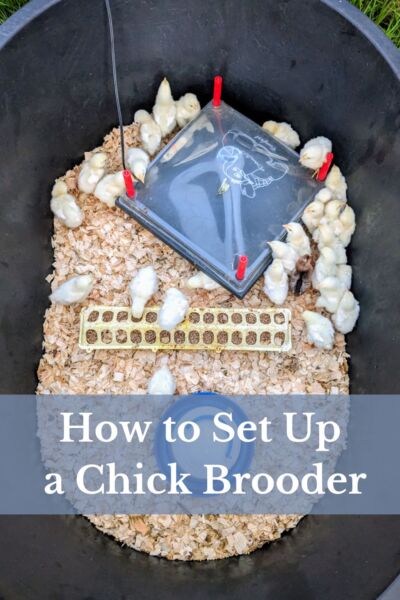
How to Set Up a Chick Brooder
How to Set Up a Chick Brooder
Chicken Tractor Build Plans
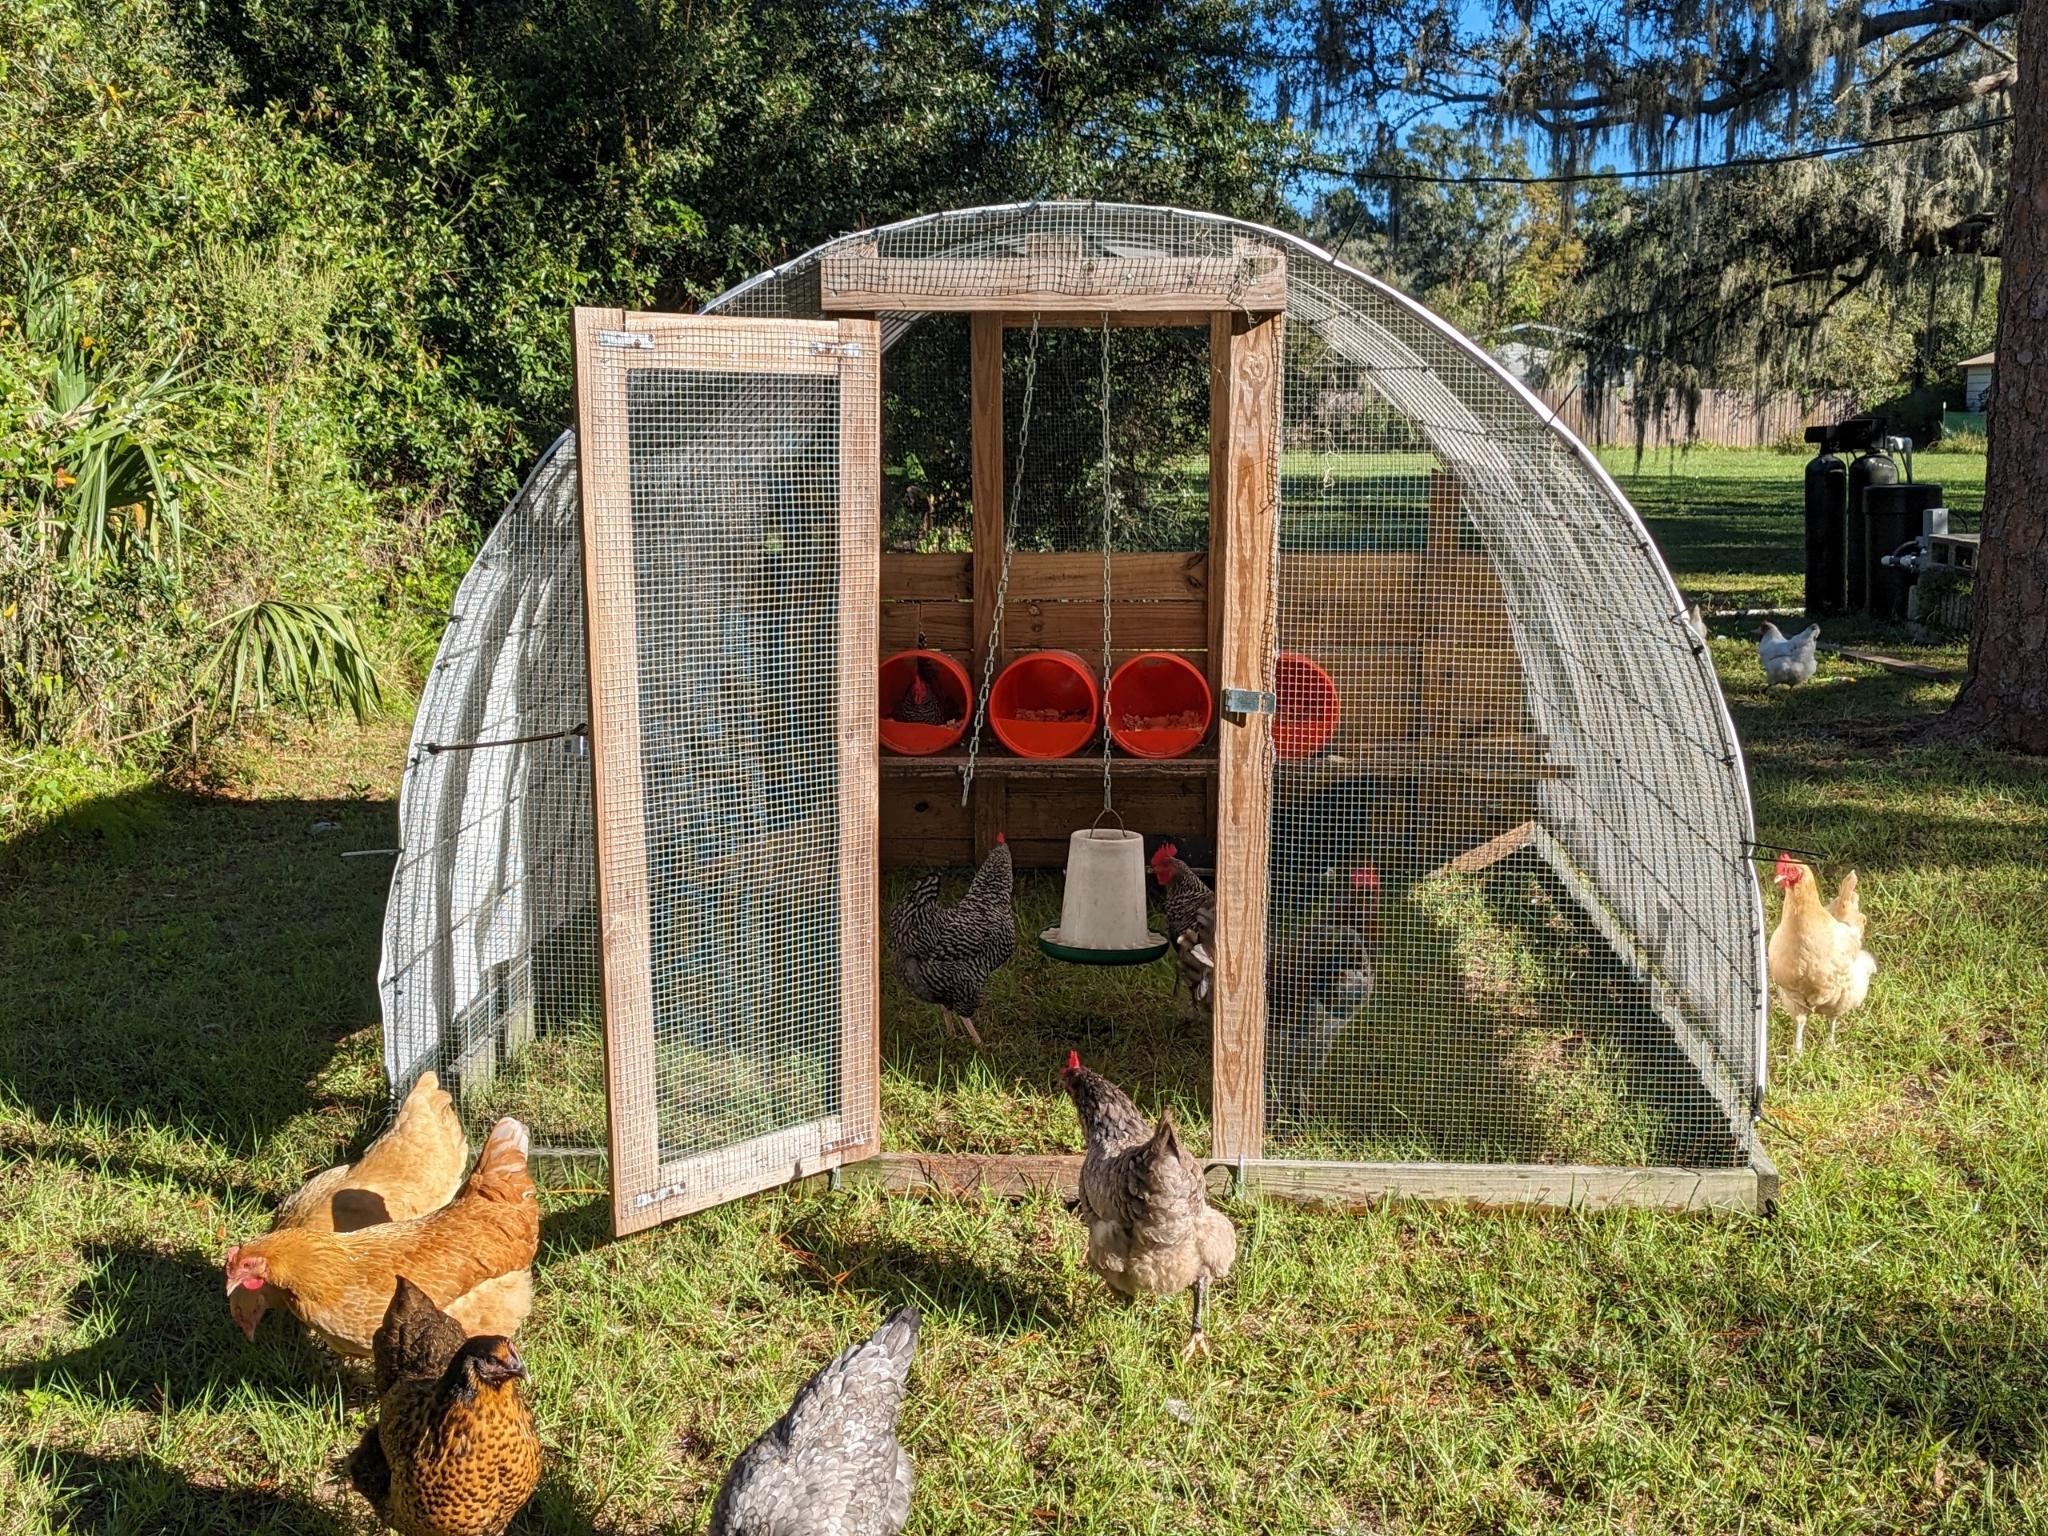
Click here for the plans to build our 8ft x 10ft chicken tractor – perfect for egg layers or meat birds!
Hi, I’m Carisa!

Come along with our family as we learn more about homesteading & self sufficiency as we go.
Setting up a chick brooder for poultry is easier than you might think! In fact, this chick brooder set up would work well for baby chickens, ducks, or even turkeys!
When it comes to bringing chicks home and setting up the chick brooder for them, there are only a few things that they really need. If you’ve been nervous about this whole thing, you can totally relax now, because this is going to be way simpler than you think!
What do chicks actually need?
- container or large tub of some sort to act as the brooder
- heat source
- litter material for the bottom of the brooder
- water
- food
When it’s broken down into those components, it’s easy to see that baby chicks don’t really require much to have a healthy start. There are many options for how to handle these components, so I’ll give you some things to think about + talk about what we decided to go with for our chick brooder set up!
This post contains affiliate links marked with an *, which means I make a small commission at no extra cost to you. Thanks for supporting our homestead!
Brooder Container
The container for your brooder simply needs to be a space to contain the chicks with enough room for them to move around + enough room for their food, water, and heat source. The first thing to think about when deciding on what to use for a brooder container is to determine where the entire brooder set up will be housed. Will it be in your house, your garage, a shed? Do you have a barn or a separate coop/chicken tractor for the chicks? You’ll want to check on the chicks at least once a day (twice would be better), so you will need to factor that in when it comes to what type of container will fit best in your space. We raise all our chicks in our chicken tractor outside to keep things simple and out of the house!
Once you have determined where the brooder will be located, another thing to consider when choosing a brooder container should be the number of chicks you plan to house in the brooder. The “rule of thumb” is that each chick needs about 0.5 square ft of space in the brooder. On top of that, the amount of space that the food, water, and heat source will take up needs to be accounted for.
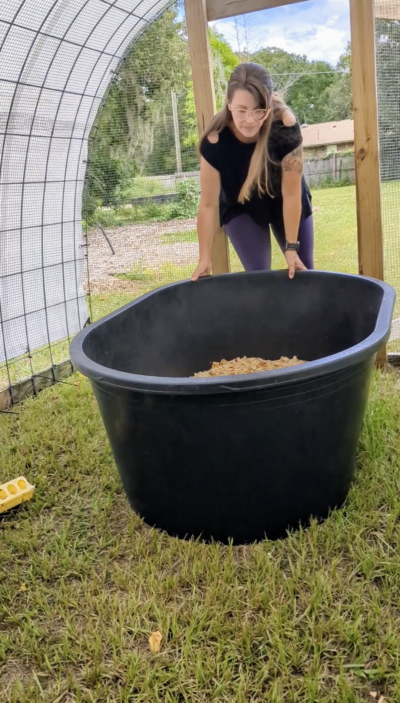
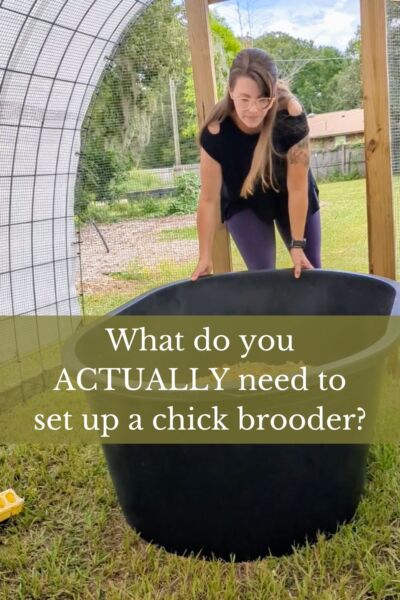
The container that you choose to use can be as simple or as fancy as you would like! I would personally suggest some type of sturdy tub that will be able to withstand the amount of waste the chicks produce on a daily basis. Some people choose to use cardboard boxes for their brooder container, but with the large amount of manure chicks produce + the water they will inevitably spill, I don’t find that to be the best choice. Metal tubs seem to be very popular, and even a large storage tub you may have in your garage would work well!
We personally chose to go with the Tuff Stuff 110 gallon stock tank*. This thing is incredibly sturdy and large enough to easily hold 30 chicks with all their supplies. This tub also fits through the door of our chicken tractor when placed on its side, so that’s also a plus! If you’re not brooding quite so many chicks, I would suggest something similar but smaller like this 40 gallon stock tank*.
Heat Source
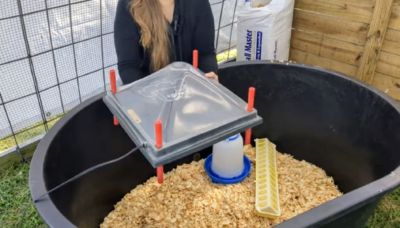
There are really only two options when it comes to providing heat for baby chicks, the heat lamp or the heat plate. A heat lamp is exactly what it sounds like – a lamp suspended above the brooder area that is raised incrementally as the chicks get bigger and need less heat. A heat plate is a flat plate that is low to the floor of the brooder under which the chicks go to get warm. It has adjustable legs that you can raise or lower based on the age of the chicks.
We started our journey raising chicks by using a heat plate*, and we don’t regret it one bit! The first reason we chose a heat plate over a heat lamp is because of the risks of fire sometimes associated with heat lamps. A heat plate doesn’t get as warm, but because it’s closer to the chicks, it doesn’t need to. The second reason we liked the idea of a heat plate is that it simulates the action that a chick would naturally take with a mother hen. Just like a baby chick would go under a mother hen for warmth, they also do the same with the heat plate.
There are many options for heat plates based on the amount of chicks you choose to brood, and we decided to go with a large option since we often raise a large amount of chicks at a time. I always suggest going with more space and larger equipment than you need with chickens because chicken math is a real thing!
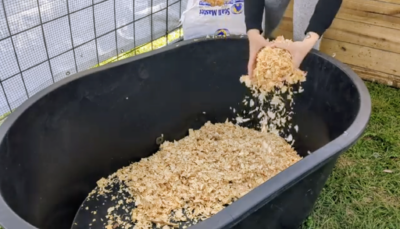
Litter Material
There will need to be some type of litter material at the bottom of your brooder container. This material soaks up the waste from the chicks, keeps them warm, and also keeps them from slipping on the floor of the brooder if it has a slick bottom. You can use many things for this – woodchips, pine shavings, shredded paper, straw, etc. You’ll want to make sure that whatever you go with is large enough that the chicks won’t try to eat the litter material. The option that we have always found to be the easiest is large flake pine shavings. When you move your chicks out of the brooder, their waste and all the litter material can be added to your compost so nothing goes to waste!
Food
Your chicks need food, of course, so we have always gone with whatever chick starter/grower feed we can get at our local feed store. When it comes to chicken feed, you can get as fancy or as simple as you want with it. We have found that using what our local feed store has in stock is just fine & more cost effective than worrying about organic or fancy feed mixes. You can also get your baby chicks chick grit when they are a few days old. This is something we have never felt the need to do as our chicks are given access to pasture at 1-2 weeks old, but it’s something to be aware of & look into.
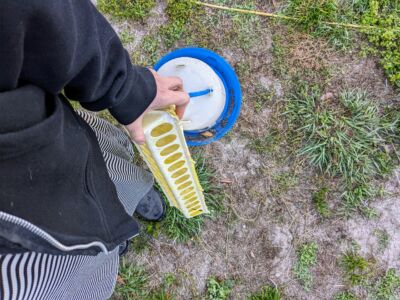
Chicks tend to be a bit messy with their food as they peck and scratch it around, so the horizontal feed containers* are our favorite. We find that chicks tend to not be able to spill as much food, therefore saving money on feed cost in the long run.
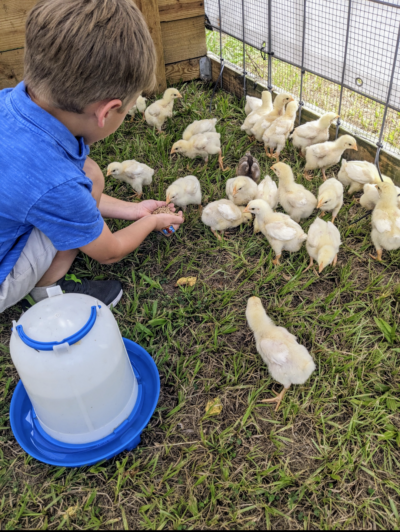
Water
Just like food, your baby chicks will also need access to water. Chicks aren’t very smart when it comes to water safety, so it’s important to get a container that is small and made for small chicks. If the area for drinking is too large, they could fall in and drown.
The same principle about chicks being messy with food applies to water as well. Waterers with legs on the base* will keep the water slightly higher than your litter material, which keeps the waterer slightly cleaner. However, once chicks get to a certain age, they seem to be determined to clog their water with litter material no matter what you try to do to stop it. The best solution for this is checking on them 2-3 times a day to clear out the waterer.
When can you move chicks out of the brooder?
This will depend mainly on the type of chicks you are raising and whether or not you are integrating the chicks into an existing flock. Egg laying chickens don’t grow as fast as chickens bred for meat, so they will need to stay in the brooder longer. With our meat birds, we take them out of the brooder and place them on grass at 1 week old. For our egg layers, we would wait until around 2 weeks old. Both types of birds would continue to use the heat plate on grass until fully feathered.
If you are integrating egg laying chicks into an existing flock, the time that they leave the brooder will be determined by whether or not you have a separate growing space for them prior to joining your other chickens. Chicks shouldn’t be added to an existing flock until they are large enough to hold their own against the other chickens. They don’t necessarily need to be the exact same size, but they should look more like teenage chickens than baby chicks. We find this is around 6-8 weeks of age. We usually move the chicks from the brooder at 2 weeks and then let them finish growing in a small grow out coop or our secondary chicken tractor until it is time to join the main flock.
How do you clean the chick brooder?
This is actually a very simple process! Instead of “cleaning” the brooder, just add new litter material on top of the soiled material to create a fresh floor. This is called the deep litter method, and works perfectly for keeping the chick brooder clean enough for the chicks. I usually do this once or twice a day depending on how many chicks we have in the brooder. If you add this task into the time when you are already feeding and watering the chicks, it’s a very quick thing to do!
Chick Brooding Supplies We Love:
Pine Shavings
And there you have it! Setting up a chick brooder is a very simple process, and once you have all the supplies on hand, you can use them again and again! Let me know in the comments if you have any questions that weren’t covered in the post, and happy chick brooding!
Super helpful for first time chicken people. Thanks Carisa!
I’m so glad! Thanks for reading!