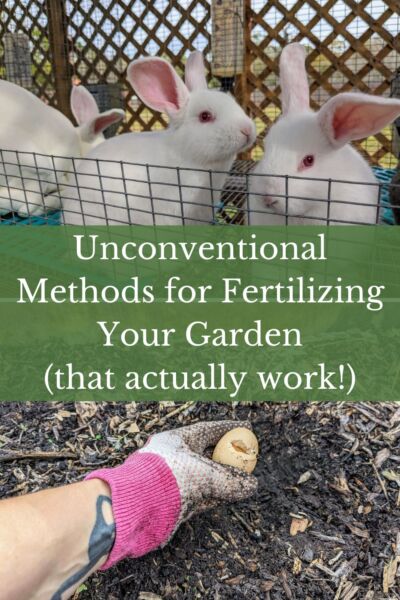
How to Fertilize Your Garden Without Store-Bought Fertilizers
How to Fertilize Your Garden Without Store-Bought Fertilizers
Chicken Tractor Build Plans
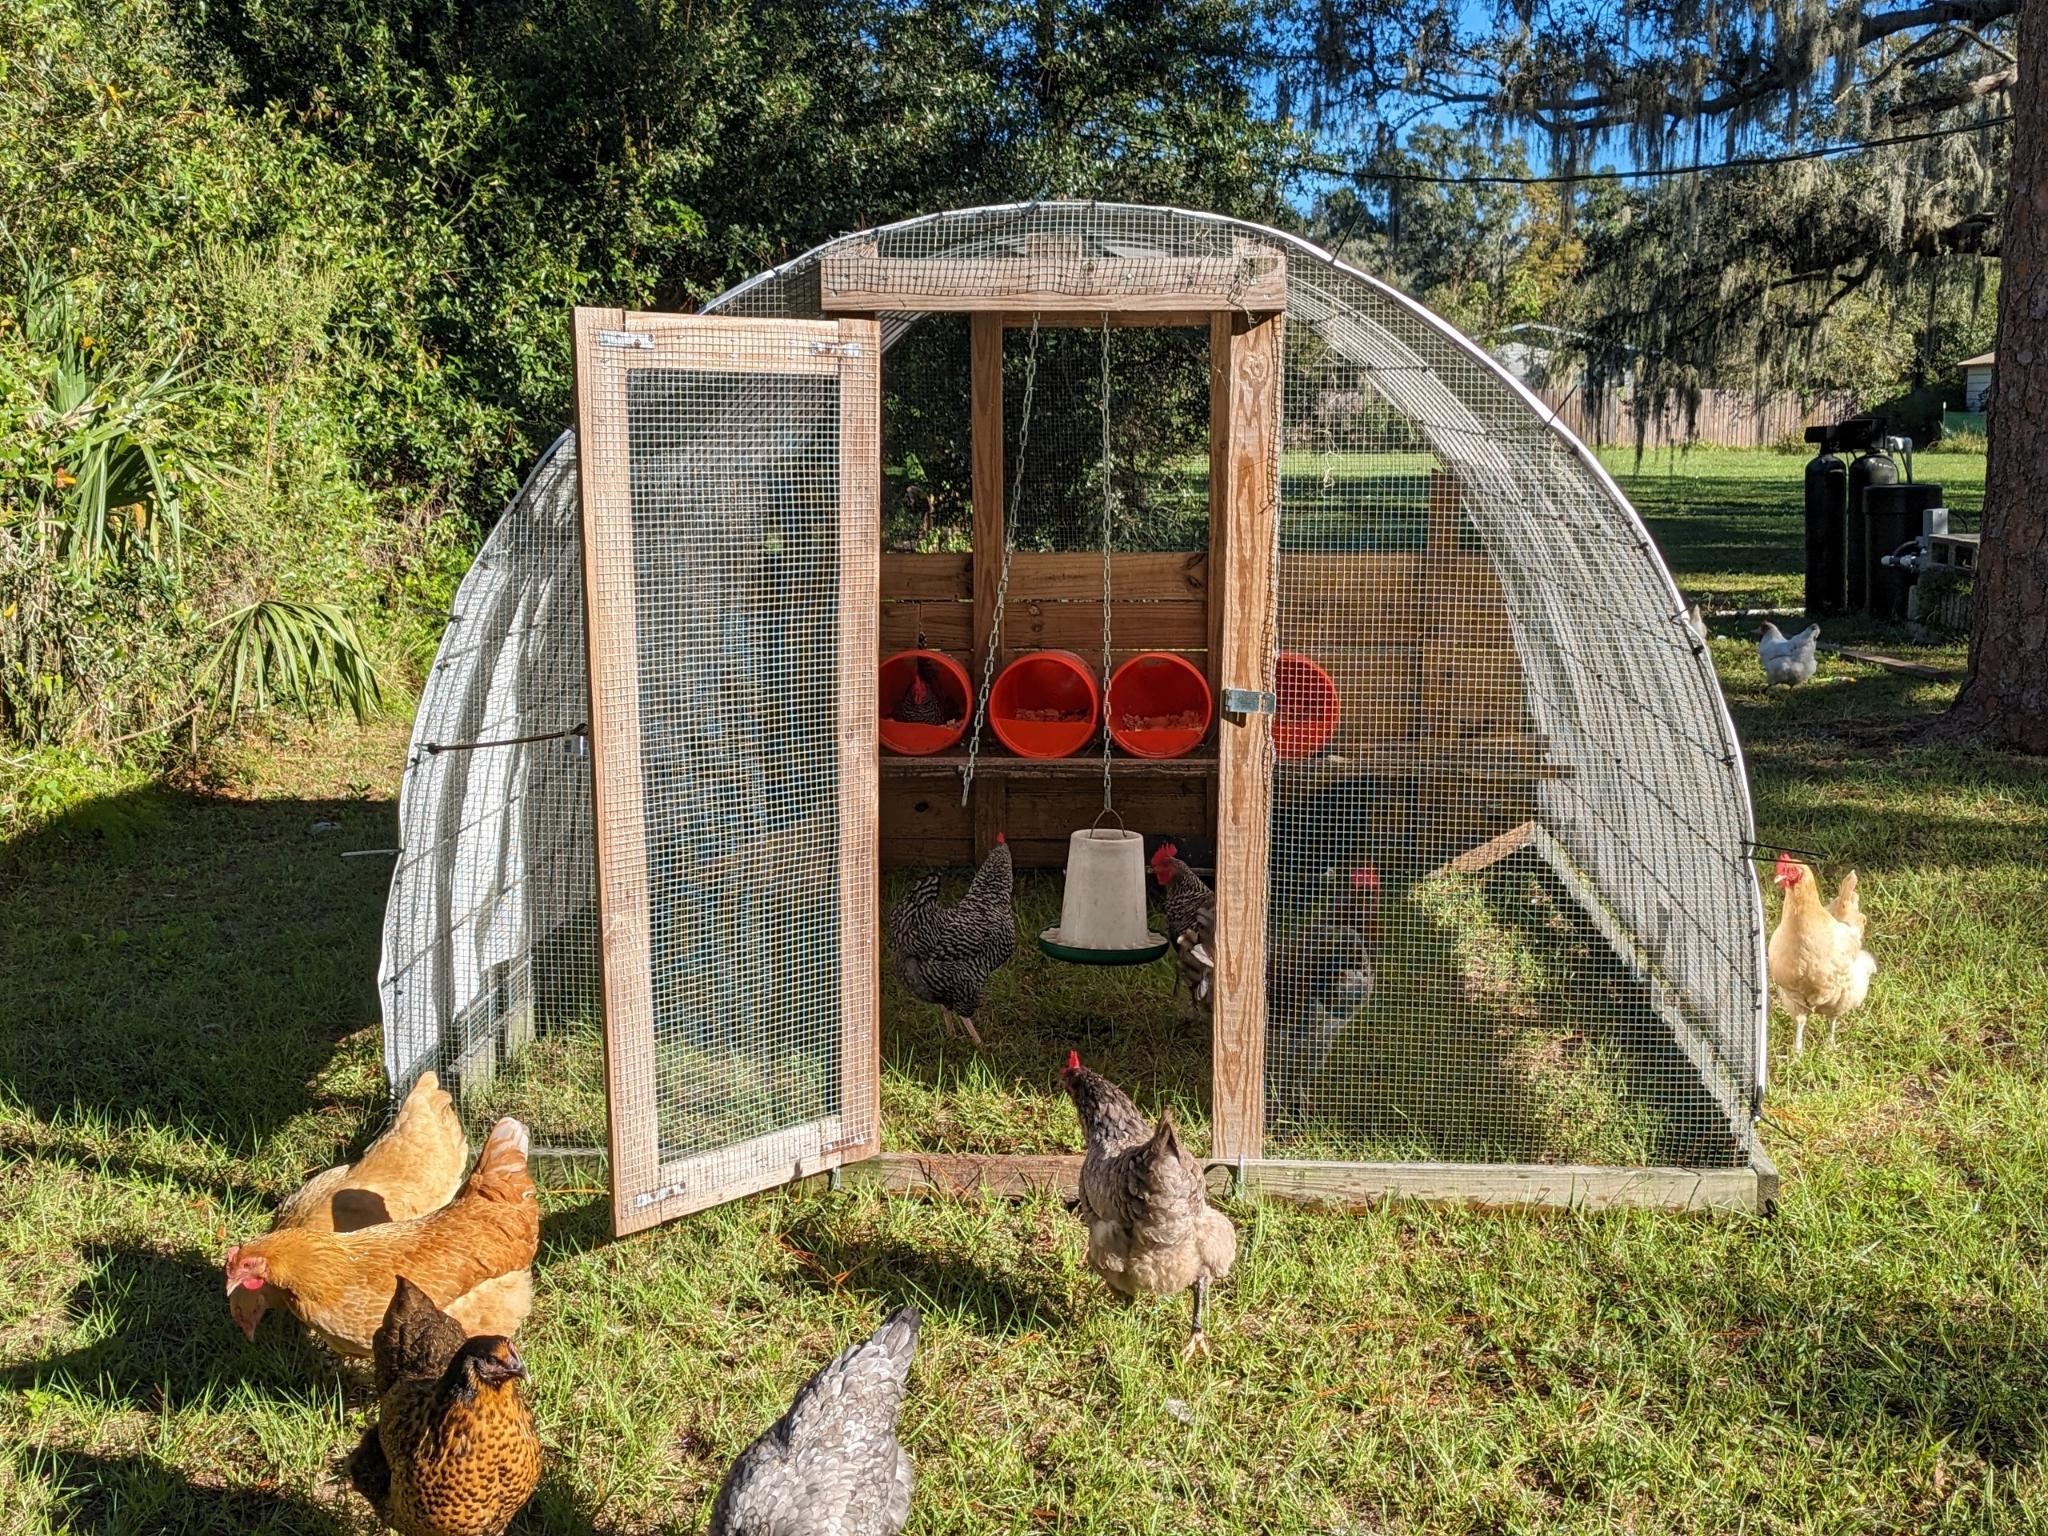
Click here for the plans to build our 8ft x 10ft chicken tractor – perfect for egg layers or meat birds!
Hi, I’m Carisa!

Come along with our family as we learn more about homesteading & self sufficiency as we go.
Do you really have to fertilize your garden with products from the store to have a thriving garden? Definitely not! Keep reading to learn about five effective ways to fertilize your garden without buying store-bought fertilizers! (Try to keep an open mind for number 5…it really works!)
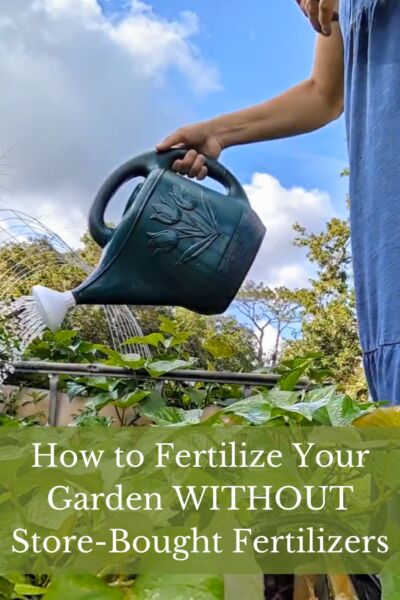
When it comes to gardening, the fertilizer you choose can really make or break the health of your plants. While synthetic options have been the go-to for their quick results, those types of fertilizers are really only fixing the immediate problem. They’re not necessarily doing anything for soil health as a whole. For a thriving garden, the best thing to do is to add nutrients to build up soil health instead of putting a band-aid on the problem with a quick fix. Healthy soil = healthy plants = a more abundant harvest.
The good news? There’s a whole world of unconventional but super effective fertilizers out there to give your garden that extra boost. Let’s dive into five of my personal favorites!
This post contains affiliate links marked with an *, which means I make a small commission at no extra cost to you. Thanks for supporting our homestead!
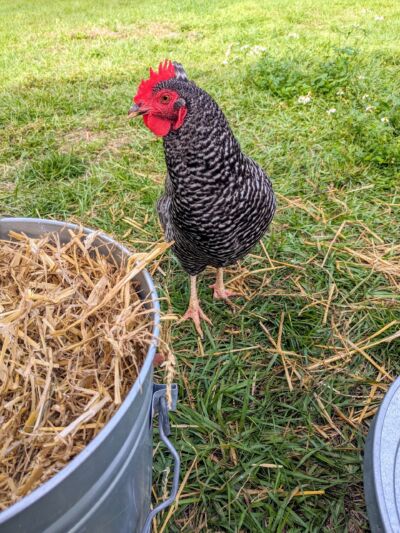
Chicken Manure
Let’s start with the one that you’ve most likely heard about and maybe have already seen the benefits from! This stuff is gold for your garden – packed with nitrogen, phosphorus, and potassium, it can really work wonders for your fertilizing your garden. If you have backyard chickens or are thinking about adding them to your homestead, I personally think their manure can often be more valuable than their eggs!
Let’s talk composting. Chicken manure is referred to as a “hot” manure, so it’s best to let it age a bit before feeding it to your plants. I would recommend about 6 months (or more) in your compost pile to really ensure that you don’t burn your plants when applying as fertilizer. This time allows all those nutrients to mix in with the rest of your compost pile, making it less intense and more plant-friendly. Plus, it helps kill off any pesky pathogens that might be lurking in the manure. So, patience is key on this one – but it’s definitely worth it if you have access to lots of chicken manure!
Rabbit Manure
Similar to chicken manure but with one BIG perk, rabbit droppings also have a wonderfully balanced nutrient profile that plants love. With extra nitrogen and essential micronutrients like calcium and magnesium, it’s amazing for your garden.
There is one reason in particular that I prefer rabbit manure over chicken manure…it doesn’t need to be composted! That’s because it is considered “cold” manure, meaning it’s not as intense and won’t burn your plants. This is good news for the gardener that wants a steady supply of fertilizer to add to the soil without worrying about “when” it’s okay to add it! (Plus rabbit poop is more pelleted and solid than chicken poop, so it’s way less messy overall!)

Uncooked Eggs
Alright, picture this: you’re getting ready to transplant those lovely tomato and pepper seedlings into your garden beds, and you want to give them a little extra love. Well, here’s a neat trick straight from the kitchen – raw eggs! I have been using this trick for years, and I always end up with amazing looking tomato plants.
Crack the eggs ever so slightly and plop them right into the planting hole right before you place your transplants in. As the roots of the plants grow, they will further crack the shell and suck up all the nutrients they need from the eggs.
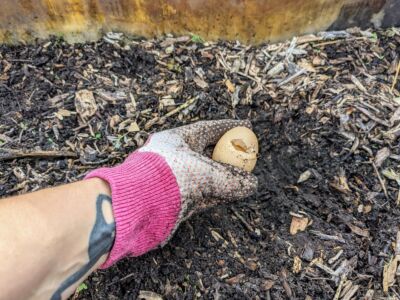
Eggs are packed with calcium and protein, which can help prevent things like blossom end rot in your tomatoes and give your peppers that extra push to produce a bumper crop. Plus, as the eggs decompose, they’ll slowly release those nutrients into the soil. Remember, feeding the soil is our main goal!
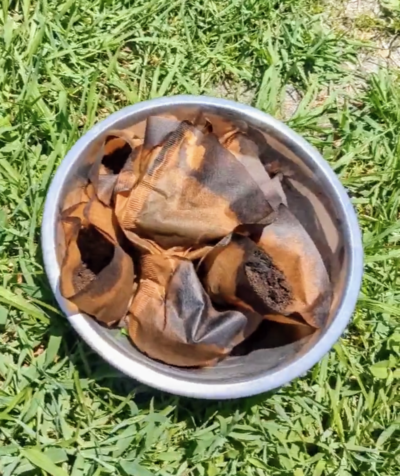
Coffee Grounds
Your morning pick-me-up can also perk up your plants. Coffee grounds are packed with nitrogen, potassium, and phosphorus, plus they improve soil structure and moisture retention. Coffee grounds are acidic, so if you’re adding them straight to the base of plants in your garden, I would only recommend doing it for plants that like a boost of acidity.
Another option, and this is the way I prefer to do it, is to compost used coffee grounds AND the coffee filter as well. This makes my whole coffee routine zero waste, and it is gentler on the plants after composting than using it straight from the coffee canister.
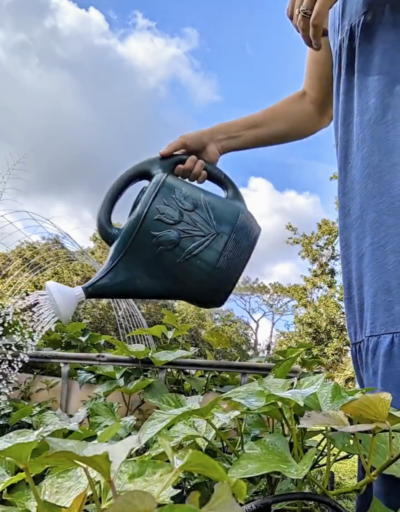
Diluted Human Urine
Here is where it might get a little weird, but stick with me! Diluted pee can actually work wonders to fertilize your garden, thanks to its nitrogen content. We have been using this trick in our annual veggie garden & for our fruit trees for years! And to be honest, this method of fertilizing is right up at the top of the list for me with rabbit manure. It’s something that we all have, it’s free, and it’s very effective to give your plants an immediate boost if they are showing signs of being low on nitrogen.
How do you fertilize the garden with diluted urine?
Let’s get to the practical part of HOW we fertilize with urine. To collect the pee, we use old pasta jars that can hold 32 oz at a time. These are only ever used for this purpose, of course! To dilute the urine, I add it to a 2 gallon watering can* filled the rest of the way with water. I have done as little as 16 ounces of urine with this amount of water, but never more than 32 ounces. It’s important to have a good amount of water to dilute it, so you don’t run the risk of burning your plants.
To apply the diluted urine to the garden, the main thing to ensure is that you’re not pouring it directly on the fruit of the plant. It’s great for applying to the base of plants or even to the foliage of plants that haven’t started to grow fruit yet. When correctly diluted with water, it’s actually quite gentle on plants!
I originally learned about this idea from David the Good, and I’ll link a video he did comparing Urine vs. MiracleGro. It was fascinating and very eye opening!
*One thing to be cautious of is using this method if you’re taking any type of medication or ingesting anything that you wouldn’t want to pass through your body and be applied to your garden.
How do you clean the jars?
When I’m finished with a jar, I spray out the jar and lid with the garden hose before leaving it out in the sun for the rest of the day. Being outside in the direct sunlight will keep the jars from smelling and allow you to reuse them again and again.
Very good article! We will be linking to
this particularly great content on our website. Keep up tthe
great writing. https://www.waste-ndc.pro/community/profile/tressa79906983/
Thanks for reading! I’m so glad it was helpful!