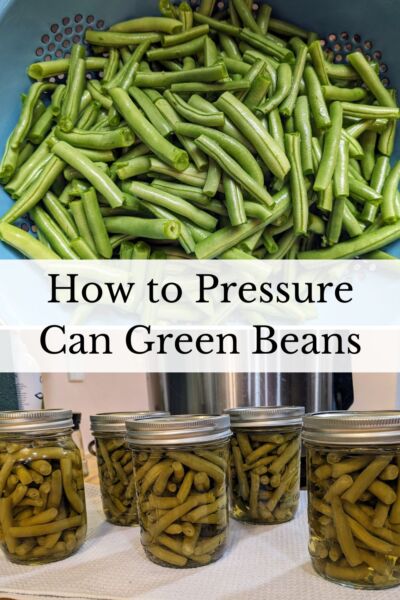
Pressure Canning Green Beans
Pressure Canning Green Beans
Chicken Tractor Build Plans
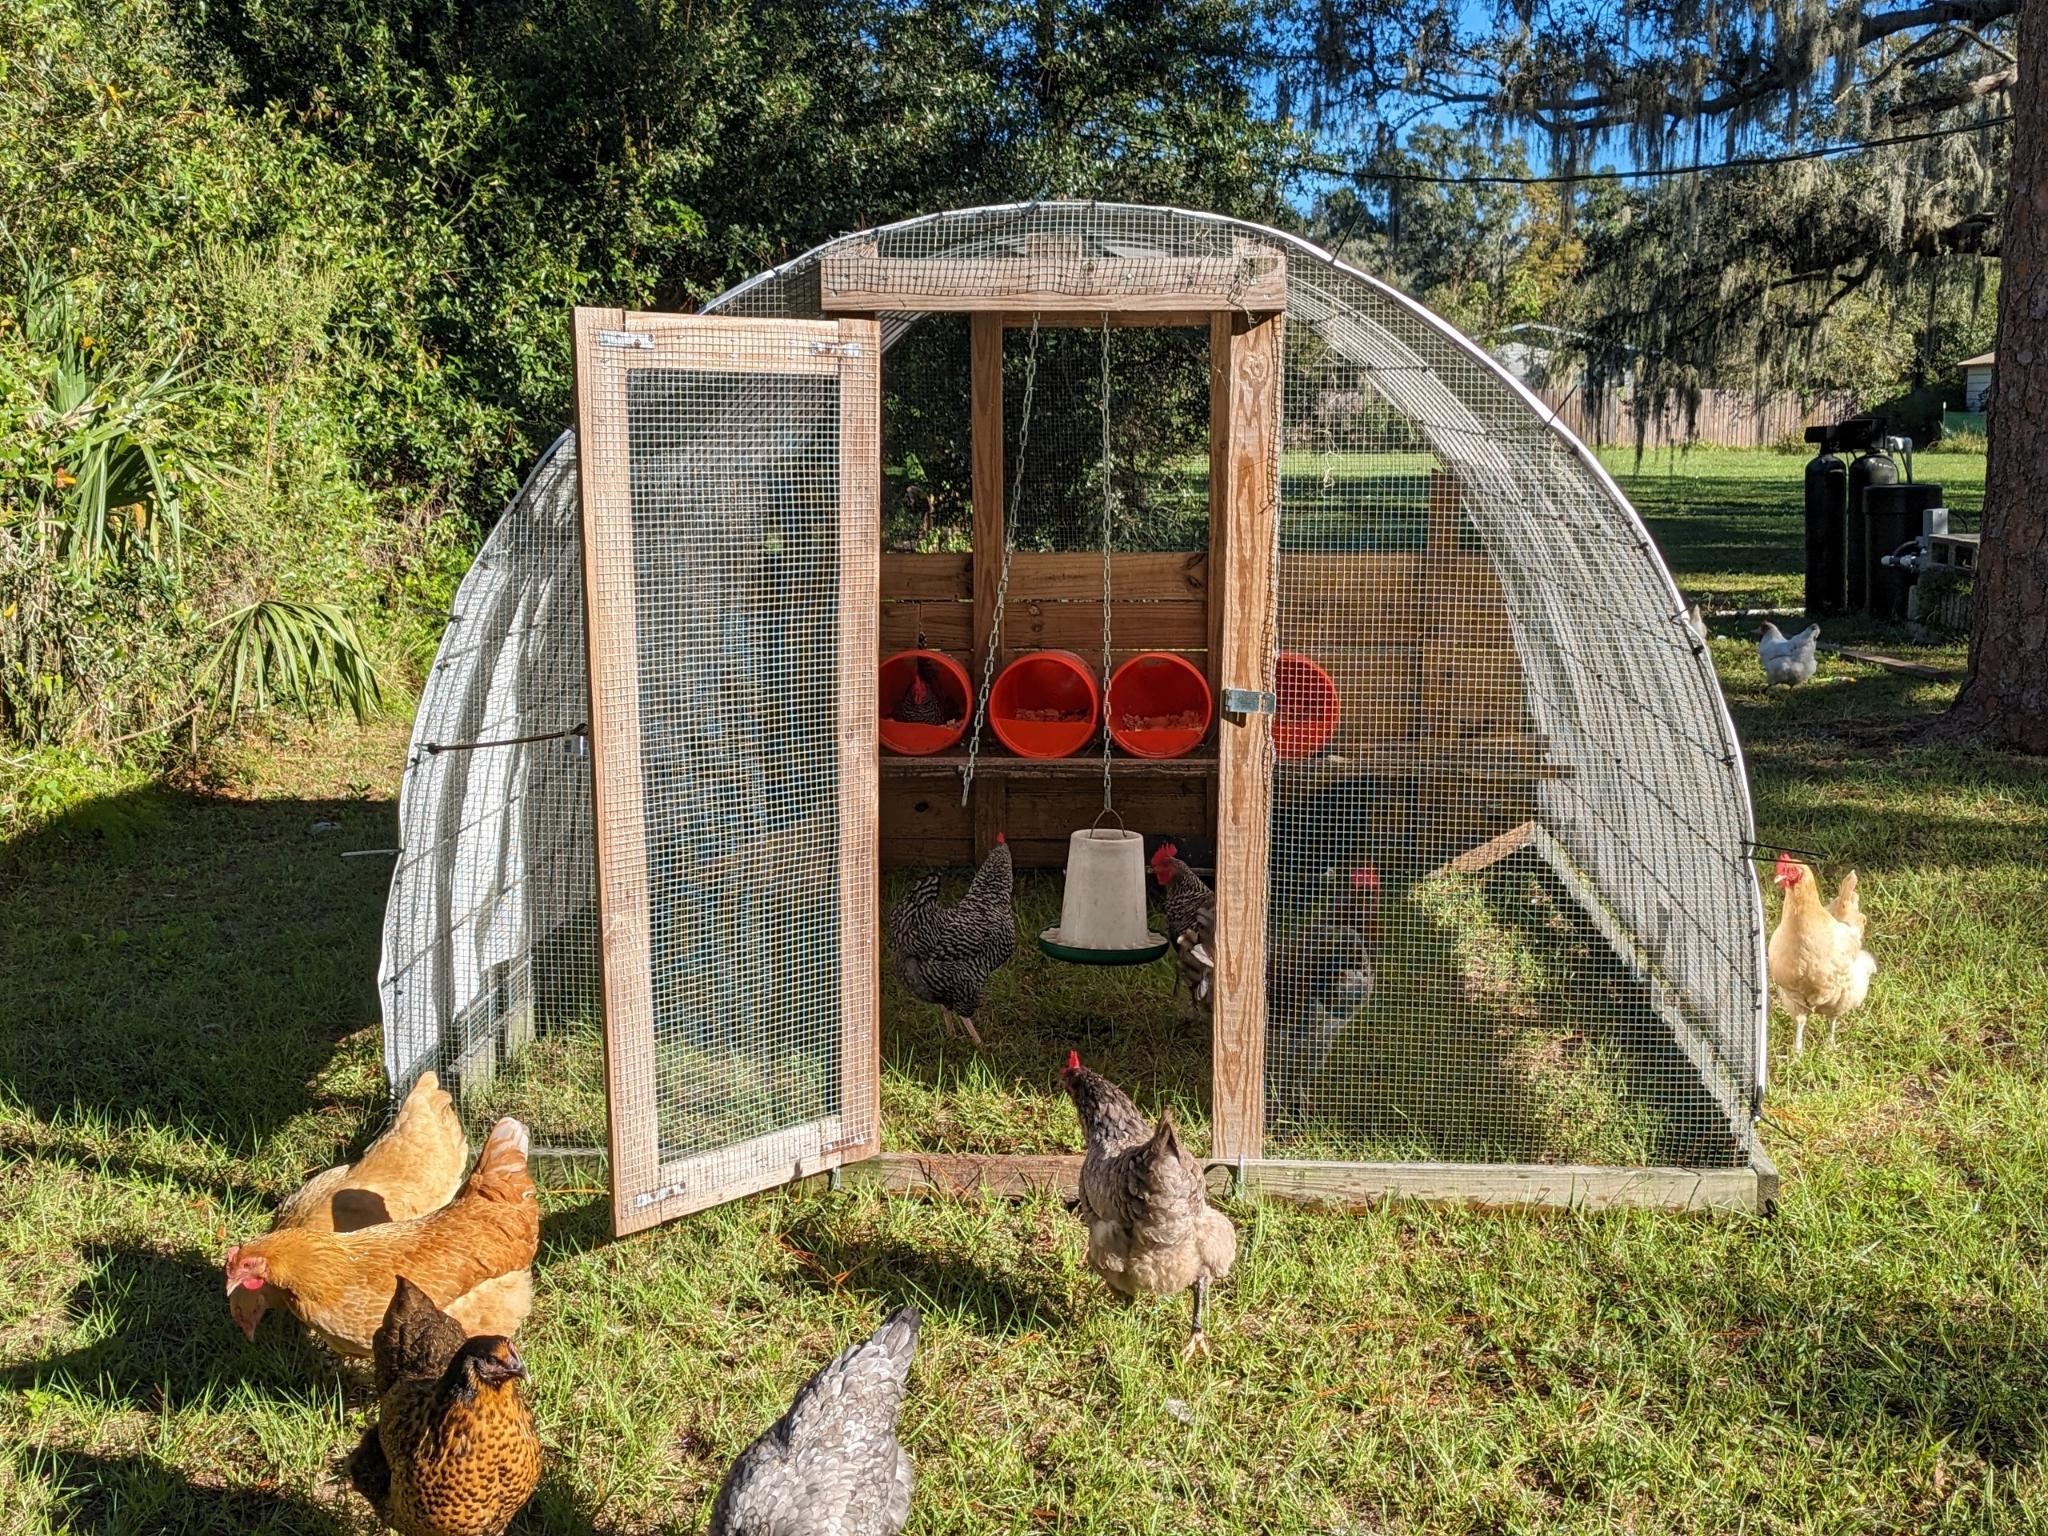
Click here for the plans to build our 8ft x 10ft chicken tractor – perfect for egg layers or meat birds!
Hi, I’m Carisa!

Come along with our family as we learn more about homesteading & self sufficiency as we go.
Pressure canning green beans is one of the easiest canning projects to get started with for beginner canners! I hope to make it even easier for you by walking through some of my tips and tricks to make the process even simpler. Let’s go!
In the spring and fall months, we are usually overflowing with green beans. I often find myself filling any empty space in the garden with bean seeds, and the result is an abundance of green beans that need to be eaten or preserved. We have tried freezing them, but no one in my house prefers the taste of frozen green beans…so that leaves us with pressure canning the beans to make them shelf stable!
This post contains affiliate links marked with an *, which means I make a small commission at no extra cost to you. Thanks for supporting our homestead!
When it comes to canning, I am definitely not an expert. This post isn’t meant to serve as a “how to”, but rather a “how I do”. I’ll be sharing some of my process to hopefully give you the confidence to can up your own green beans, but I definitely recommend following an actual canning recipe!
This book* is where I get most of my canning recipes + it gives super helpful instructions on canning as a whole. I highly recommend it!
You can also find TONS of free information and canning recipes on the National Center for Home Food Preservation Website.
Choosing Green Beans for Canning
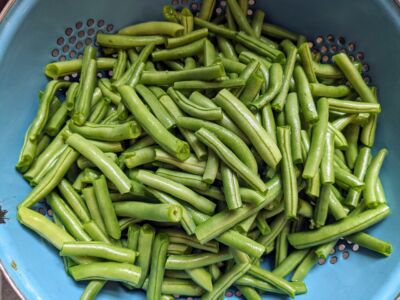
When it comes to choosing the green beans that you want to pressure can, go for the young tender beans. You don’t want them so small that they aren’t quite filled out yet, but you also don’t want them so mature that you can see the beans bulging through the pod. You’ll also want to ensure that the beans are free from any defects like spots, disease, or little bites from pests.
If you’re harvesting beans from bush bean plants, you’ll usually get about 1 large harvest and 1 slightly smaller harvest before the plant dies off. With pole beans, the plant will keep producing beans as long as weather and soil conditions are right + as long as you keep picking them.
Storing Green Beans After Harvest
If you don’t have time to pressure can the green beans immediately after harvest (or if you don’t have enough to fill your jars), not to worry! Green beans stay fresh for quite some time in the fridge. I have found that they stay fresh for a little over 1 week if I place them unwashed in a gallon food storage bag in the fridge. You can keep adding to this bag until you feel you have enough for how much you are wanting to pressure can.
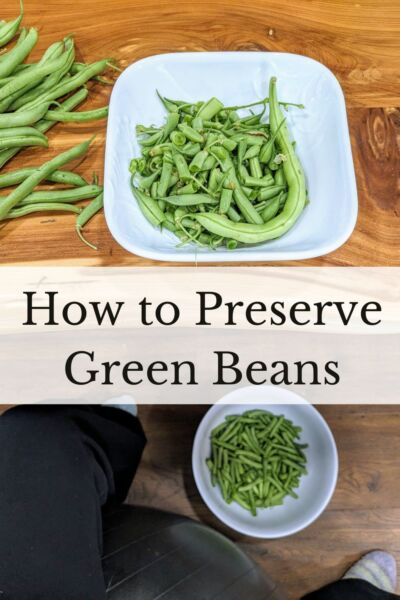
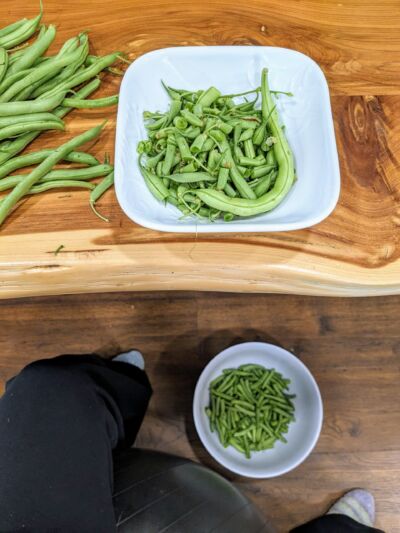
Preparing the Beans for Canning
When you’re canning, you want to ensure that everything is as clean as possible, and that includes the food you’re preserving. To get the green beans ready for the pressure canner, I first snap both ends off & then snap the beans in half to keep the pieces small. I find that they fit into the jars better this way.
Once that’s done, I submerge all the beans in a large bowl of water & swish them around to remove any debris. I’ll then take handfuls of the green beans, rinse them under running water, and place them in a clean bowl until I have worked my way through them all. This system works really well for getting them clean for canning!
Setting Up for Canning
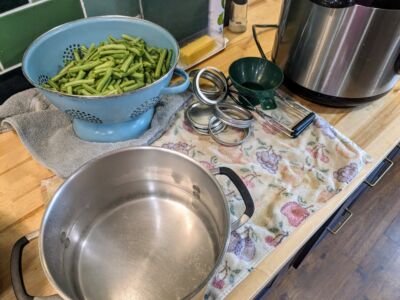
Having all your supplies set up for your canning projects can really make everything go so much smoother and feel less overwhelming. Here are the things I like to have set up prior to pressure canning green beans:
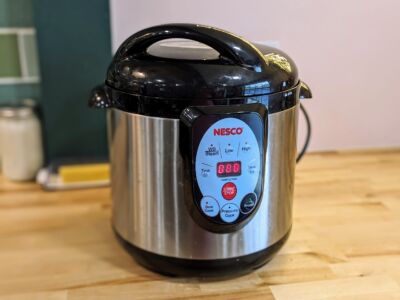
- Pressure Canner – This is an obvious one, but you’ll need a pressure canner for this project. I like this stovetop one* because it holds a large amount of jars, but I actually reach for my electric pressure canner* more often. It is best suited for smaller batches, but because it’s electric, it does a lot of the work for me…which is awesome as a busy mom!
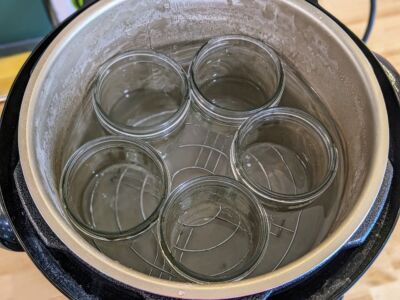
- Heated Jars – Prior to filling the canning jars, I fill them halfway with water & place them in the pressure canner to heat the jars and the water. If you’re adding hot water or a hot product to your jars, you need the jars to be hot as well. This prevents them from breaking during canning. Because we are going to add hot water to adjust the headspace in the jars, they need to be hot as well.
- Canning Lids & Rings – These are my favorite canning lids*. I’ve never had a seal failure when using them! You can use code REFORMEDACRES for 10% off your order.
- Funnel, Jar Lifter, and Bubble/Headspace Tool – I bought these things in a canning tools set* when I first started canning, and I still use the exact same ones years later.
- A Pot of Hot Water – In order to get the correct headspace for this recipe, you’ll need to add some water to the jars after adding the green beans. Having a pot of water heating while the jars are also heating up will ensure that they are around the same temperature to minimize the chance of jar breakage during canning.
How to Pressure Can Green Beans
Again, this is not a detailed recipe for canning green beans! This is just how I do it. Make sure to do your own research and follow an approved canning recipe ;)
- Prep your canner & jars by adding water to your pressure canner (amount needed per the instructions for your pressure canner), filling your jars halfway with water, and heating the water until it’s simmering + the jars, the water in the canner, and the pot of water heating on the stove are the same temperature.
- Remove the hot jars from the canner & pour out the water inside. I pour this into the pot of water I was already heating to add back into the jars for getting the correct headspace.
- Pack the jars tightly with green beans to 1″ from the top of the jar. I always use the raw pack method for canning green beans, but this book* covers both raw and hot pack methods if you would prefer to do it a different way. I make sure to really pack the beans tightly during this step. They will soften during the canning process, so packing tightly helps with making sure you have a good full jar at the end of canning.
- Add hot water to the jars to 1″ headspace. This is where the headspace measurement tool mentioned above really comes in handy!
- Remove air bubbles from the jars using the bubble/headspace tool.
- Wipe the rims of the jars with a clean cloth & check the rims for any cracks & jar rings for any dents. You don’t want to use any that you find with those imperfections, because it could affect the seal of your jar during processing.
- Add a lid + ring, and screw the ring on fingertip tight.
- Place the jars in your canner, and process pint jars for 20 minutes and quart jars for 25 minutes.
- Let the jars cool and pressure come down according the instructions for the canner you are using before removing the jars from the canner.
- Once the jars have cooled for about 24 hours, check the seals, and store them away!
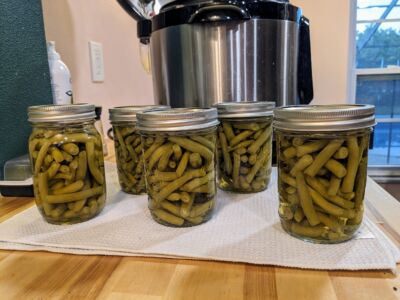
There you have it! Pressure canning is a great tool for preserving the harvest and keeping a stocked pantry, and I hope this post encourages you to give it a try! Comment below, and let me know some of your favorite things to pressure can :)