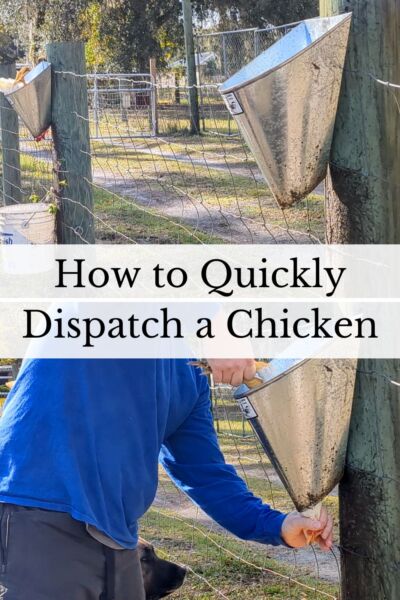
How to Quickly Dispatch a Chicken
How to Quickly Dispatch a Chicken
Chicken Tractor Build Plans
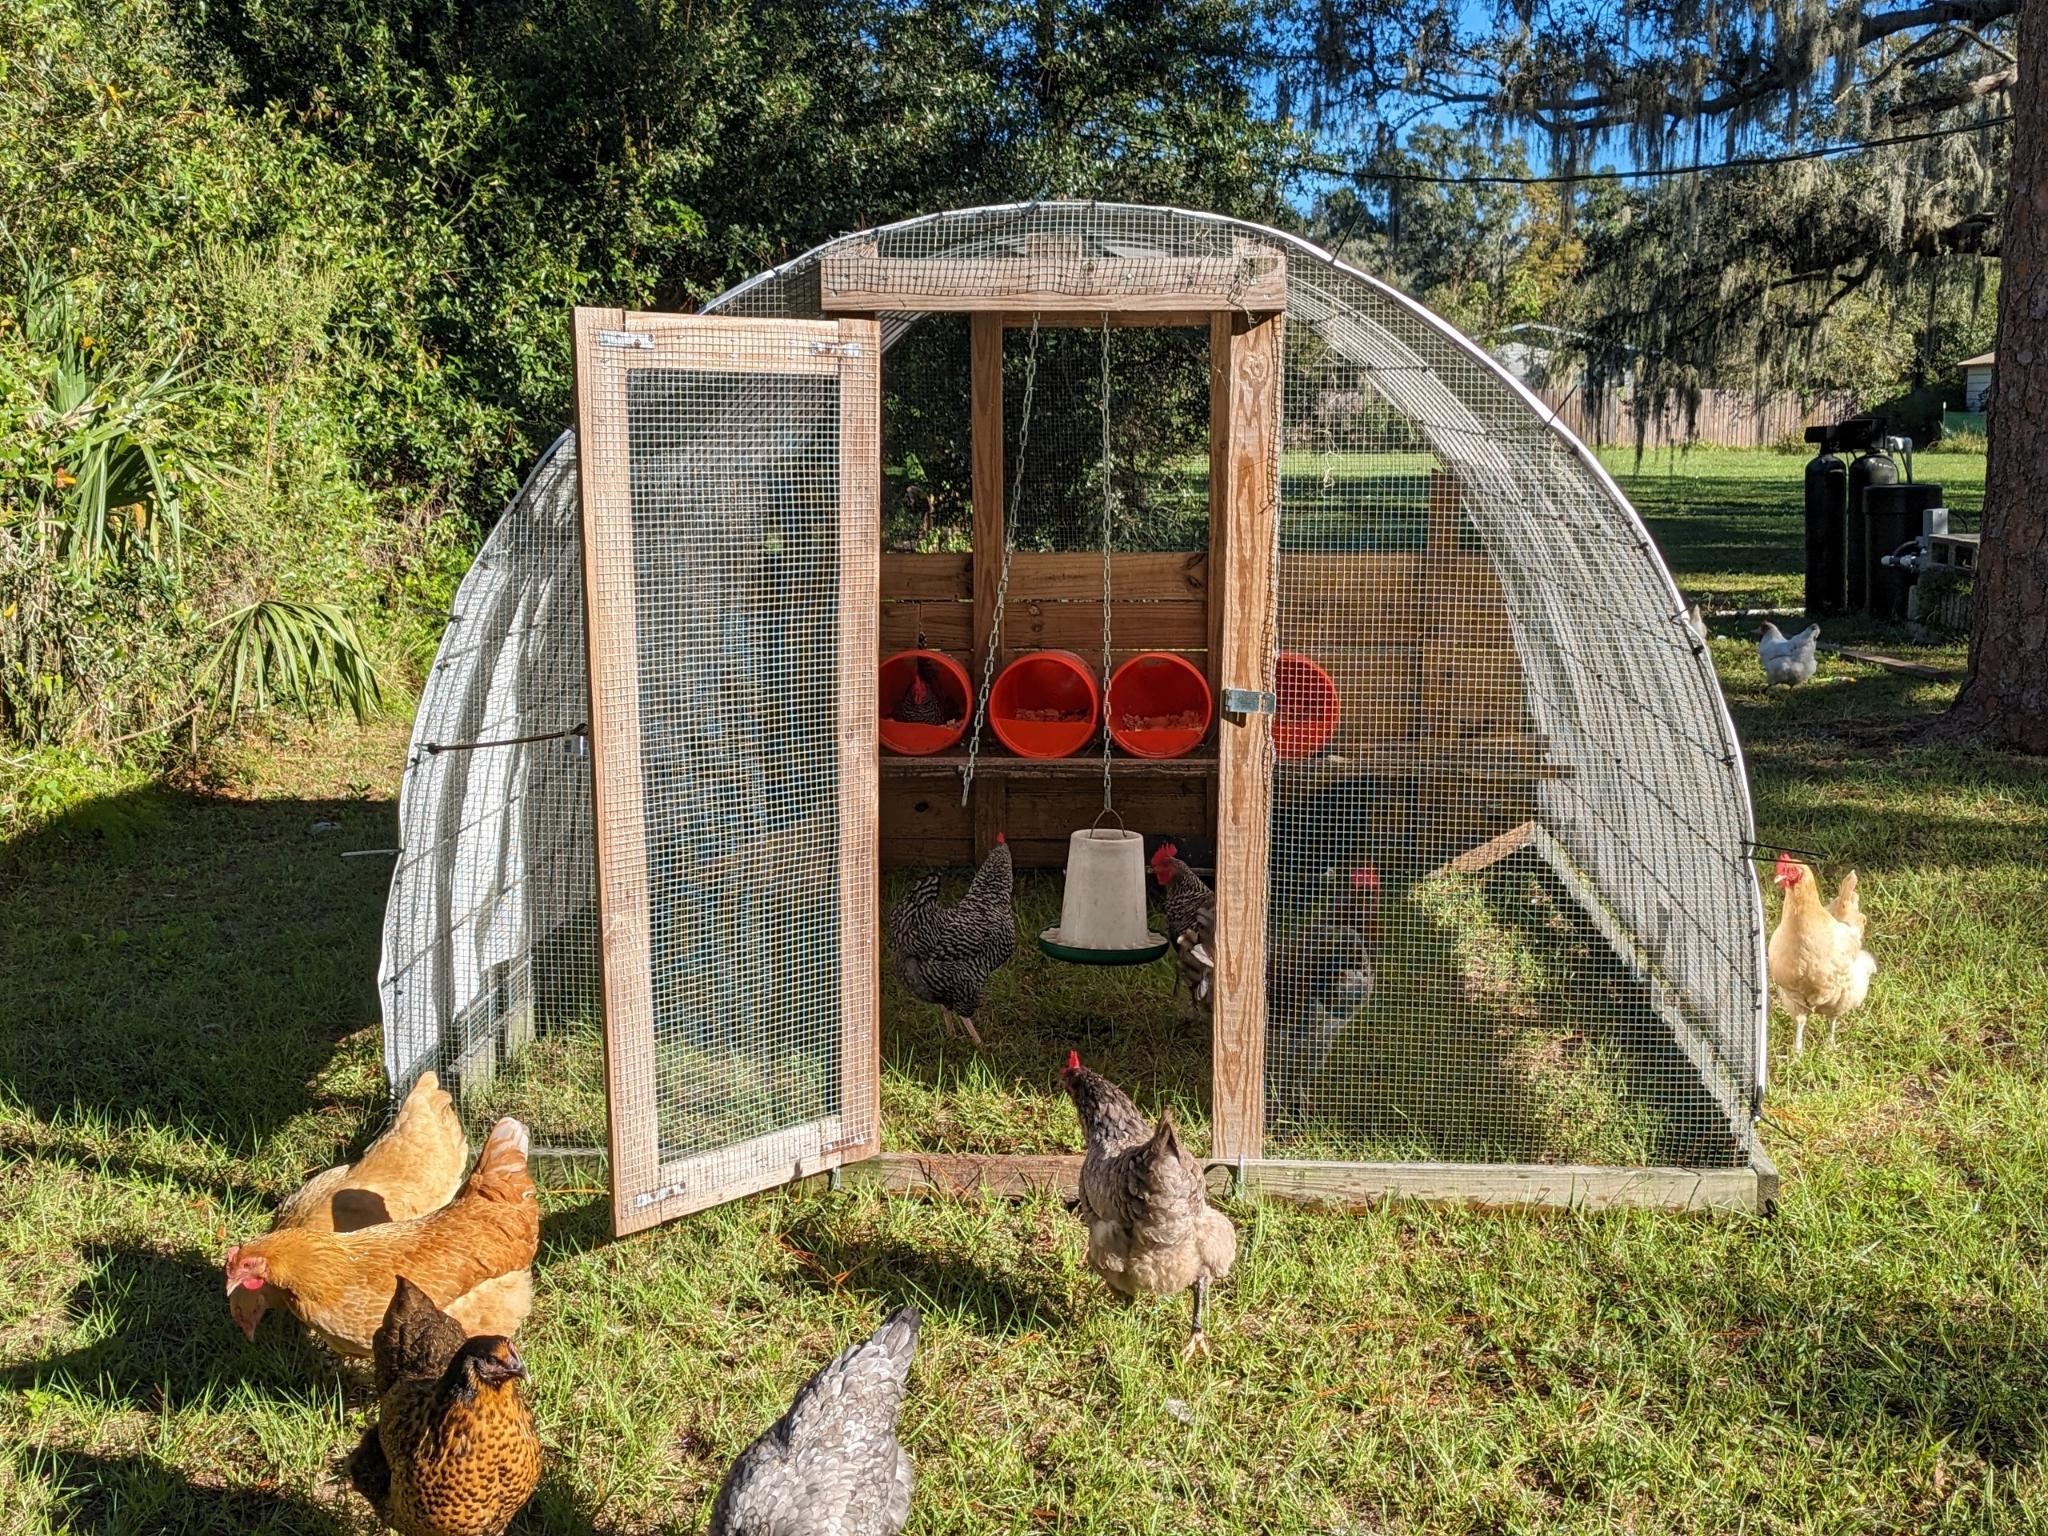
Click here for the plans to build our 8ft x 10ft chicken tractor – perfect for egg layers or meat birds!
Hi, I’m Carisa!

Come along with our family as we learn more about homesteading & self sufficiency as we go.
Learning how to quickly and effectively dispatch a chicken is the first hurdle to overcome when processing meat chickens. Not to worry, though! This is a skill that can easily be learned, and I am going to show you the method that we have used for the past 3 years!
This is the second part of our 5 part How to Process Meat Chickens series, and I will be sharing with you how to position the chicken in the processing cone, what tools to use, how to make a quick & clean cut, and what to do with the blood from this stage. (Big thanks to my husband for voicing over this video with his expertise!) I highly encourage you to check out the other videos and posts in this series that I will be linking below for the full picture on how processing day works on our homestead!
How to Process Meat Chickens series
- Meat Chicken Processing Set Up, Equipment, and Tools
- How to Quickly Dispatch a Chicken
- How to Remove the Feathers From a Chicken (Using a Scalder and Plucker)
- How to Butcher and Gut a Chicken
- How to Use Poultry Shrink Bags for Freezing Meat Chickens
Setting Up to Dispatch Your Meat Chickens
On our chicken processing days, we are sometimes butchering up to 30 chickens at a time. Because of this, it’s very important to set up the processing area to be as efficient as possible. The first step in this is to move the chicken tractor (or whatever you are using to house your meat chickens) as close to the processing cones as you can. Even just minimizing the steps from the coop to the cones can save a ton of time when you add that up over multiple meat chickens needing to be dispatched.
You’ll also want to ensure that you are wearing clothes you don’t mind getting dirty. Processing chickens isn’t a hugely messy ordeal, but you will still get fluids, blood, feathers, dirt, etc. on you…so grab some work clothes that you don’t care too much about.
Lastly, it’s very important to already have your processing area set up, knives sharpened, and everything ready to go before you begin dispatching chickens. The last thing you want is to have a chicken bleeding out in the processing cone, but have forgotten to set up the scalder or get ice for the cooler. If you want more info on how we set up + the tools we use, you can find that in this post!
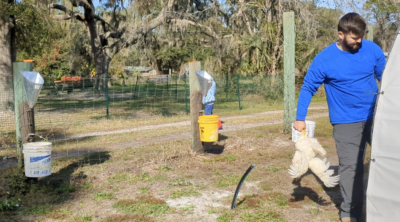
Picking Up the Chicken
We have found that it is easiest to catch and pick up meat chicken by grabbing them by their feet. They may try to do a “sit up” and peck your hand, but you can gently push them down away from your hand by their breast. This position is also excellent for easily getting them into the processing cone since they are already upside down!
This post contains affiliate links marked with an *, which means I make a small commission at no extra cost to you. Thanks for supporting our homestead!
Placing the Chicken into the Processing Cone
If you’re already carrying the chicken by the feet, simply place them into the processing cone* head first. Try to keep their legs out of the cone and not tucked up next to them. This reduces the leverage that they might have to push off the inside of the cone & propel themselves out. At this point, you can reach up into the bottom of the cone and pull their neck through the opening.
Our Preferred Method for Dispatching Chickens
When it comes to the actual dispatch, we prefer to cut off the entire head of the chicken. We find this to be the quickest and most surefire way to get it done with minimal stress on the animal.
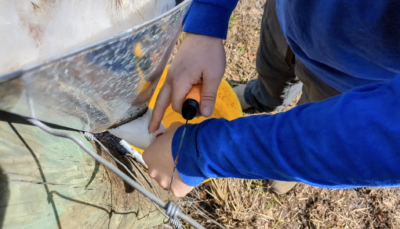
In the video above, we have shown many different angles to give you a better idea of exactly where to cut and how quick it is, but here are the steps we take for the dispatch cut:
- Hold the head of the chicken perpendicular to the ground so the neck is exposed.
- Grasp the head of the chicken with the hand you won’t be using to cut.
- Locate the spot between the jawbone and the first neck bone – this space contains only cartilage and will allow for an easy, clean cut.
- Hold the blade at a downward angle, and drive the cut with your bodyweight and shoulder.
- Be mindful of your other hand while cutting so you don’t accidentally cut yourself!
- Allow the chicken to bleed out for a minute or two before transferring to the scalder for the next step.
Using the Blood from Processing Day
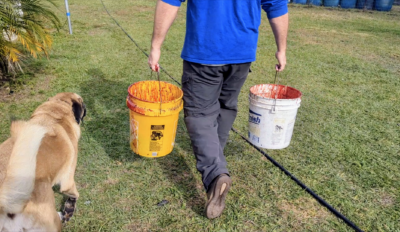
When raising your own chickens for meat, we think it’s important to use as much of the bird as possible. This can include the blood from dispatching! Placing buckets filled with a small amount of water under the processing cones will allow you to collect that blood, and you can put it straight into your compost pile. The water in the buckets keeps the blood from coagulating, so don’t skip that step!
Chicken Dispatch Supplies
Processing Cones* – We like these cones because they keep the bird upside down and calm for the dispatch, which means that it’s easier for us to get a clean cut for a quick end for the chicken.
Knife* – We use this knife for the dispatch cut, and it’s very effective!
Buckets – This will catch the blood from the chicken after the dispatch cut, and you can then transfer that blood to your compost pile.
