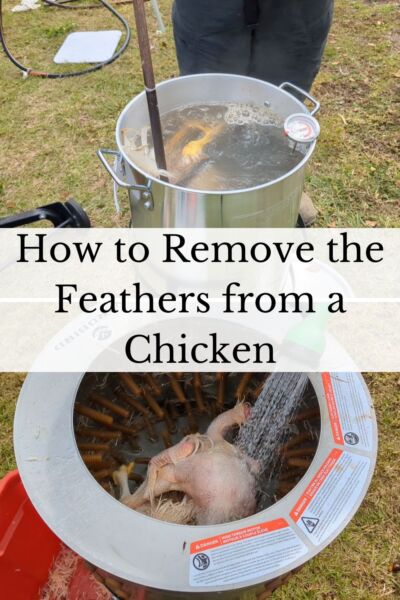
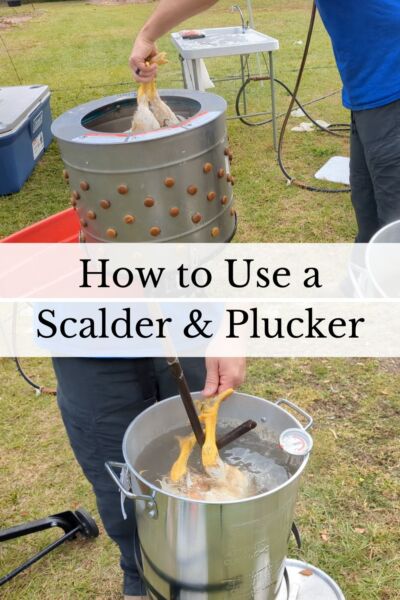
How to Remove the Feathers From a Chicken (Using a Scalder and Plucker)
How to Remove the Feathers From a Chicken (Using a Scalder and Plucker)
Chicken Tractor Build Plans
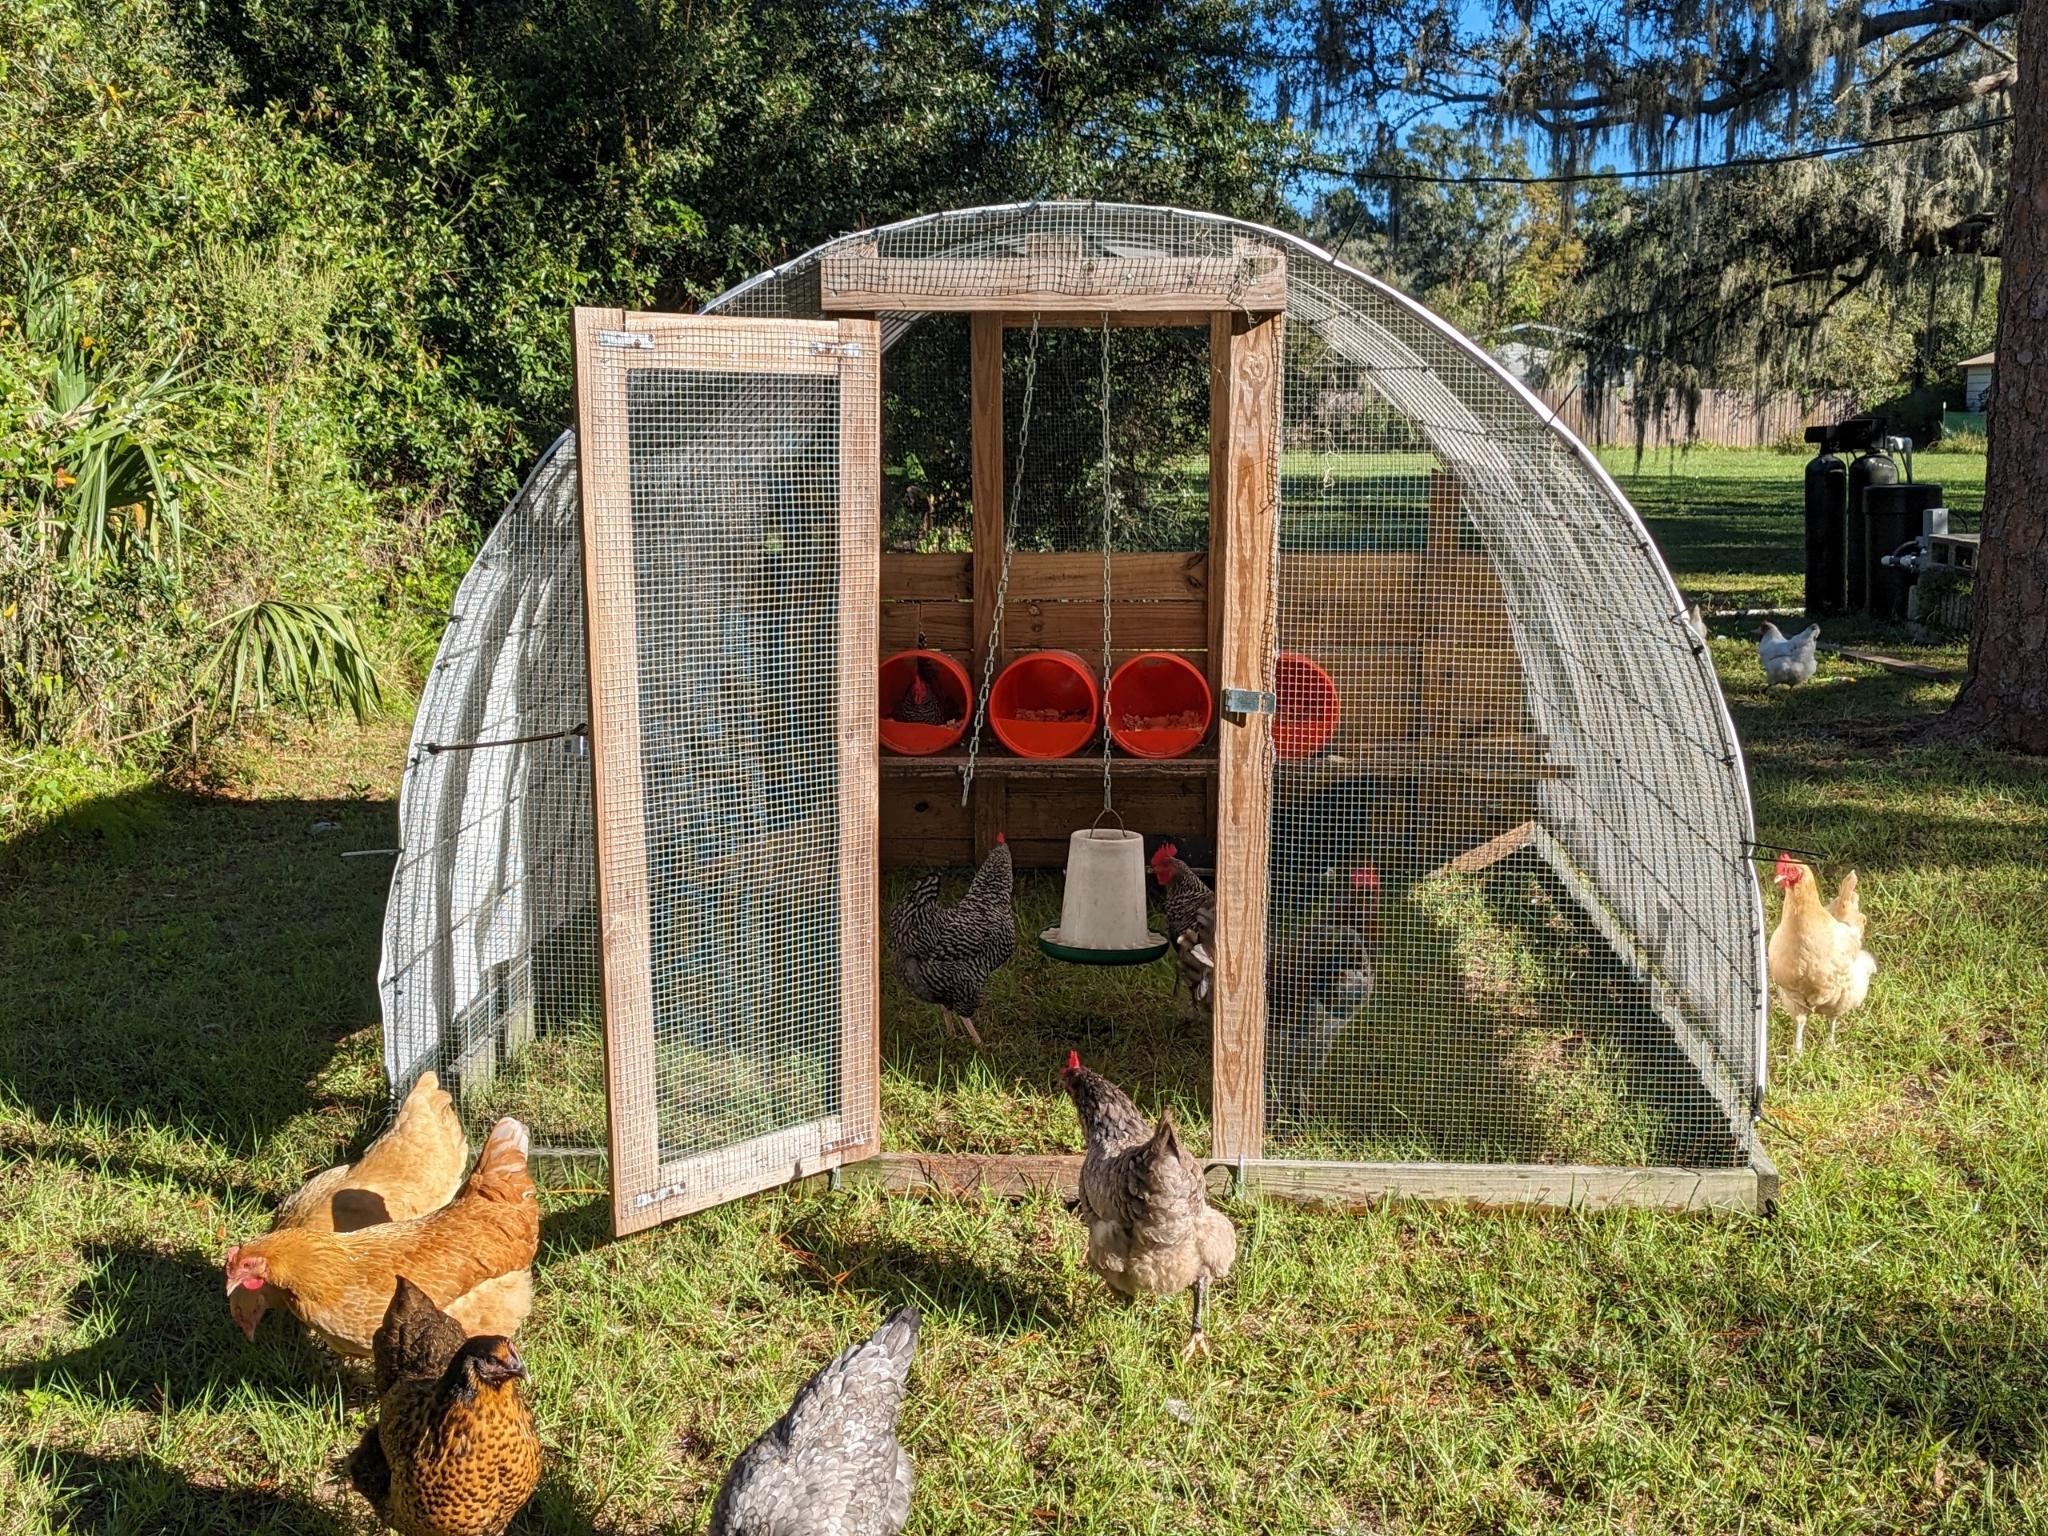
Click here for the plans to build our 8ft x 10ft chicken tractor – perfect for egg layers or meat birds!
Hi, I’m Carisa!

Come along with our family as we learn more about homesteading & self sufficiency as we go.
Scalding and plucking to remove the feathers from a chicken during processing is a very simple thing to do, but it also is one of the most important things to get right! There are many ways to do this with many variations of equipment, but I’ll show you the method that we use to scald and pluck around 75 meat chickens a year!
This is the third part of our 5 part How to Process Meat Chickens series, and in this post, I will be sharing with you:
- what temperature to get the water in the scalder to
- how long to keep the chicken in the scalder to cleanly get the feathers off
- how to know when the chicken is ready to be moved to the plucker
- tips for using the plucker
- equipment that we use to make the process more efficient
I highly encourage you to check out the other videos and posts in this series that I will be linking below for the full picture on how processing day works on our homestead! (Big thanks to my husband for voicing over this video with his expertise!)
How to Process Meat Chickens series
- Meat Chicken Processing Set Up, Equipment, and Tools
- How to Quickly Dispatch a Chicken
- How to Remove the Feathers From a Chicken (Using a Scalder and Plucker)
- How to Butcher and Gut a Chicken
- How to Use Poultry Shrink Bags for Freezing Meat Chickens
This post contains affiliate links marked with an *, which means I make a small commission at no extra cost to you. Thanks for supporting our homestead!
What temperature should water in the scalder be?
Getting a good scald on the chicken before it goes into the plucker is really important! If the water is too hot or the bird is left in too long, the chicken can tend to fall apart in the plucker. If you have too low of a temperature or keep the chicken in the water for not enough time, many feathers will be left on after plucking – meaning you’ll be spending extra time hand plucking feathers. Neither of these scenarios is what you want for an efficient processing day!
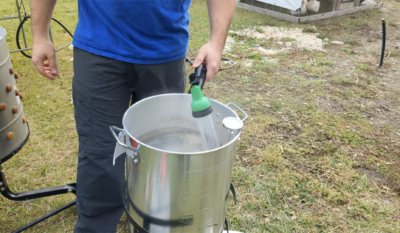
We aim to keep the temperature of the water in the scalder* between 145F-150F. The easiest way to control the temperature is to use an extra bowl to dump water out if the temperature has risen too high. Then add cool water back in with a hose to reach the desired temperature. You may need to do this multiple times during your meat chicken processing day to ensure the water stays at optimal temperature!
How long does it take to scald a chicken?
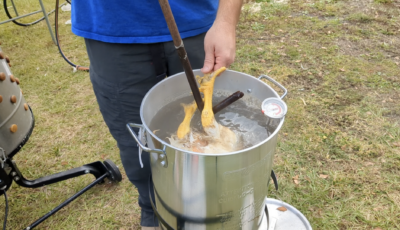
The exact time that it takes to scald a chicken is more of an art than a science. For young meat birds, it should take as little as 30-60 seconds in the scalder. If you’re processing an older hen (for example a hen that is a few years old and isn’t laying eggs well anymore), it will take longer and be closer to 1-2 minutes. We like to use a metal pole to keep the chicken submerged in the water during this process.
How do you know when the chicken is done scalding?
The easiest way to tell when the chicken is done in the scalder is to remove some of the skin from the feet after some time has elapsed. If the skin comes off cleanly and easily, the chicken is most likely ready for the plucker. When in doubt, it’s always best to scald for a shorter time and need to hand pluck a few feathers than for too long and have the bird get damaged in the plucker!
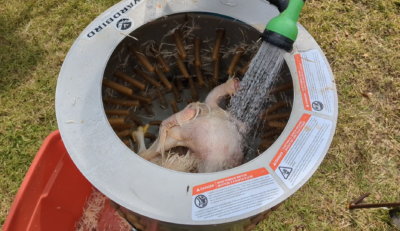
How do you use a plucker to remove the feathers from a chicken?
The chicken plucker* is basically a large metal drum with rubber “fingers” inside that spins very fast to strip the feathers from the chicken. The one that we recommend is large enough for a turkey, so it can easily hold 2 chickens at a time. In fact, it works better at removing feathers with two chickens!
When the chickens are done scalding, simply turn on the plucker, place the chickens inside, and spray water continuously into the drum along with the chickens. This water will keep the feathers from sticking to the sides. There is a hose inside the plucker that does the water part for you, but we find that spraying manually works better for us.
Once the chicken is in the plucker, it only takes about 15-30 seconds for the feathers to be removed. This saves so much time versus hand-plucking the feathers! Don’t forget to have a little tub at the bottom of the plucker to catch the feathers for your compost pile. Once the plucking is done, you’re ready to move on to gutting the chicken!
Supplies We Recommend
Scalder* – We like the one that we have, but any large outdoor turkey fryer will do!
Plucker* – If there is any piece of equipment that I wouldn’t want to process meat chickens without…it’s the plucker.
Container for feathers – When you use a plucker, feathers will be spitting out the bottom, so you’ll need a container to catch those feathers. Any old bucket or tote you have laying around will work. The feathers can be added to your compost pile along with the blood.
Bowl & Hose – This is useful for keeping the scalder water temperature at the correct level + spraying water into the drum of the plucker.
Metal pole of some sort – This will help you keep the chicken submerged during the scalding process.
Scalding and plucking to remove the feathers from a chicken is very simple once you get the hang of it! We hope that this gives you the confidence to raise your own chickens for meat for your family! Comment below if you have any questions or things to add, and make sure to take a look at the other posts in this series!
- Meat Chicken Processing Set Up, Equipment, and Tools
- How to Quickly Dispatch a Chicken
- How to Remove the Feathers from a Chicken (Using a Scalder and Plucker)
- How to Butcher and Gut a Chicken
- How to Use Poultry Shrink Bags for Freezing Meat Chickens